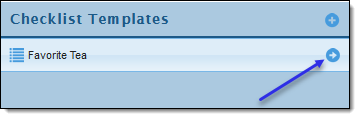
To access the options per checklist template, click the arrow on the right of the checklist name. Every (Active) Checklist Template will have this list of options available.
To Note
You can only access the options section of a Checklist Template after you've created your first Checklist Template.
A list of options will display, mirroring the below..
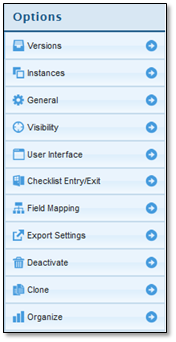
Click the below options to expand detailed examples on each option.
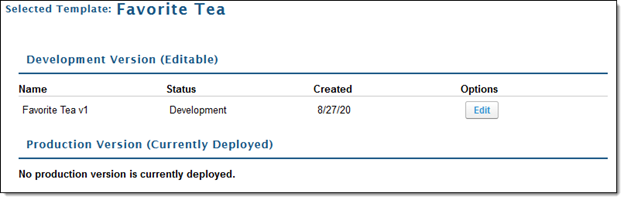
Manage your editable development versions (saved, but not deployed) and view currently deployed.
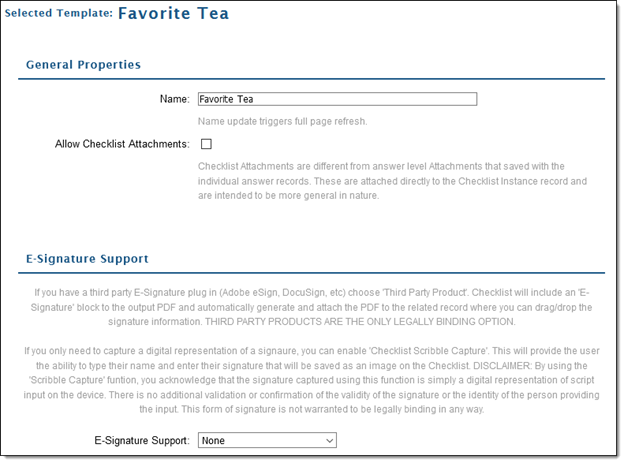
From the "General" menu option, you can edit the name of the checklist and also enable attachments
Attachments must be enabled before any attachment can be added to any of the checklist questions.
To enable E-Signature Support, click the drop down and select either Checklist Scribble Capture or Third-Party Product
- Third-Party Products are the only legally binding option
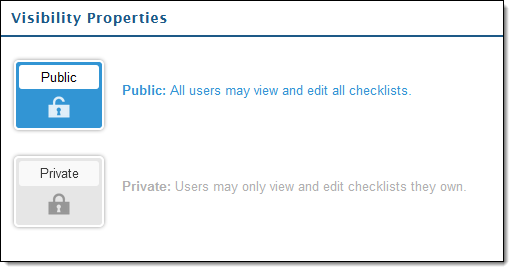
From the Visibility menu option, you can specify if the checklist instances are Public - meaning that all users can see all Checklists that are created within this template.
- This option should be used if you intend to allow collaboration on Checklists. One user can start a Checklist, and another user can view, access, and continue to answer questions.
- If the checklist instances are marked Private - then only the owner of the Checklist can view and edit an existing Checklist
- It is required to choose one of these options before deploying the Checklist
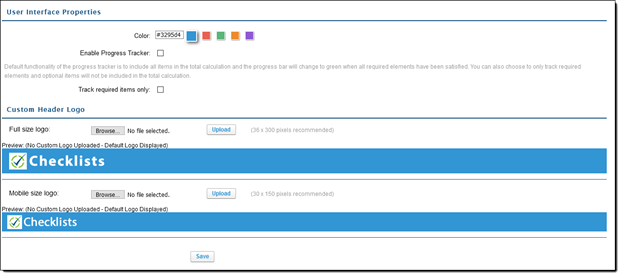
The User Interface option allows for 3 options to control the user interface behavior.
- The first option is to select the primary color that the user will see on the Checklist section indicators. The user can select one of the colors displayed on the palate, or they can input the HEX value of the color they wish to display for the users viewing the Checklist.
- The second function is to enable a progress tracker. This progress tracker is displayed at the top of the section and indicates the progress that the user has made in completing the Checklist. All questions are included in the total. If a required response option has been selected (e.g. required comments, required task, or required attachment), these are not counted in the total for progress monitoring purposes.
- If the checkbox for Track Required Items Only is selected - then only questions that are marked as Required when the Question is created will be counted towards completion progress.
- The third function is to upload images that will be displayed on the user's checklist screen as a banner or header. There are two versions of header images. The first is for the full screen form factor, which is a 36 x 300 pixel image. The second is for smaller (mobile) form factors. This image is 30 x 150 pixels. If you do not upload your own images, the default images will be used.
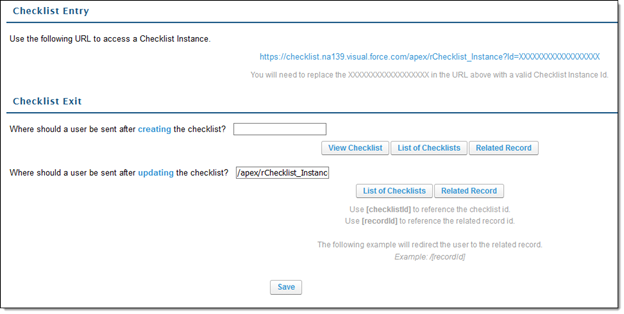
The Checklist Entry/Exit page allows you to enable advanced controls on how you access a Checklist
The Checklist Entry:
- Section highlights two ways you can initiate a Checklist. First via custom button, copy the URL from the display, and during the button click, substitute the recorded of the checklist instance for the "XX"'s in the URL. This will allow you to launch a checklist instance from a button.
- The URL for accessing a Checklist instance allows you to send emails with a substitution string to point to the Checklist instance ID. In this way - you can send emails with a specific instance of the checklist identified. This makes the email personalized to the user and to the user's instance of the checklist template.
The Checklist Exit:
- Section highlights options for the user to be directed to specific pages after completing the checklist. This allows you to control the user experience upon exit from the Checklist application.
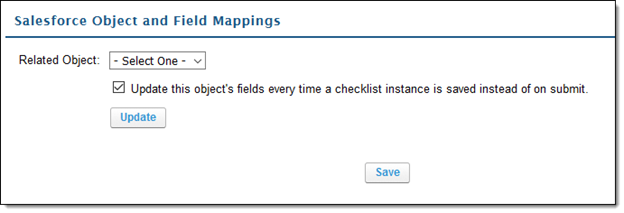
Field Mapping allows you to update data that is input into a Checklist into specific fields on a Salesforce Object
- First, select the Related Object you wish to attach the Checklist to. Standard selections are Account and Contact. If you wish to attach the Checklist to a different object - please see the Mapping a Non-Standard Object instructions.
- There is a Checkbox to indicate if you want the field mapping to occur every time a Checklist is saved, or if you want the fields to be updated in Salesforce when the Checklist is completed (Submit)
-
Mapping a Non-Standard Object
- If you want to have your Checklist attached to an object other than the Account or Contact objects, you will need to add the Object to the Custom Settings record for Checklist Object.
- Navigate to "Custom Settings"
- Setup in Salesforce > Custom Code: Custom Settings
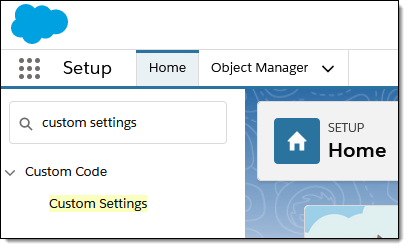
- Scroll through Custom Settings to find the "Checklist Object" setting
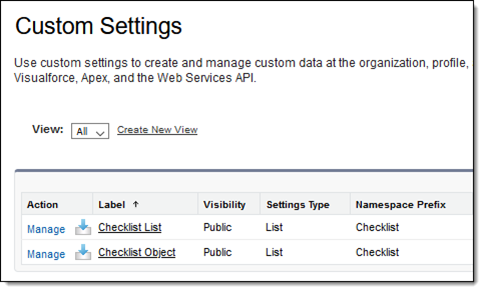
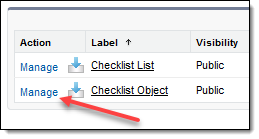
- Click "Manage" to show the list of available object
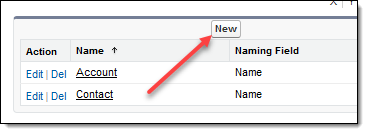
- Click "New" to add the Object you wish to attach
- Populating the "Name" field with your custom object's name and the Name Field with the existing custom object's existing API
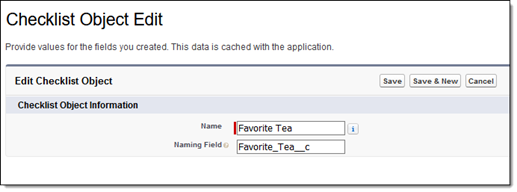
- Click "Save"
You cannot create a custom object on this screen, you must have a custom object already created before populating the "Name" and "Naming Field"
- Setup in Salesforce > Custom Code: Custom Settings
- Navigate to "Custom Settings"
- If you want to have your Checklist attached to an object other than the Account or Contact objects, you will need to add the Object to the Custom Settings record for Checklist Object.
The Export Settings screen allows you to define the output of a Checklist into a PDF
- The top section of the screen allows you to upload Header and Footer images (width = 700 pixels) which will be included on the PDF
- The bottom section of the screen allows you to indicate for each question if it should be included on the PDF. Suppressing a question is good for sensitive information that should not be distributed in print format (e.g. SSN or Asset Value Information). If needed, you can suppress the inclusion of a question on the PDF if the question was not answered (left blank). The conserves real estate on the printed page, and compresses the information to only the relevant questions that were answered.
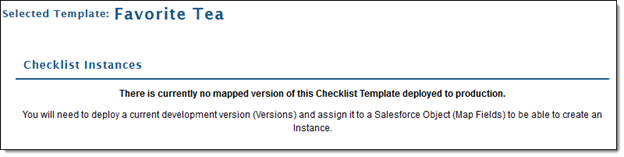
- This text will display if no Checklist Templates are currently available/deployed in production - you will be required to deploy a checklist version and assign it to a Salesforce Object to be able to update the Export Settings

If a user wishes to deactivate a Template, then navigate to the Deactivate Option.
- By selecting Deactivate, any existing (in-flight) Checklists will be allowed to complete. New Checklist instances using this Template will not be allowed.

- If a user wishes to re-activate a deactivated Template, then select the Template main menu. There will be a display listing all inactive Templates. The user can select a Deactivated Checklist and Re-Activate It.
- This option is only displayed if there are existing Inactive Templates
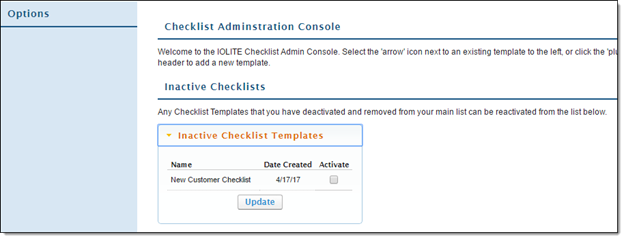
- This option is only displayed if there are existing Inactive Templates
To clone a checklist - select the Clone option from the menu. This will clone all of the questions, answers and actions.
The user can name the new Checklist Template or accept the default suggested by the system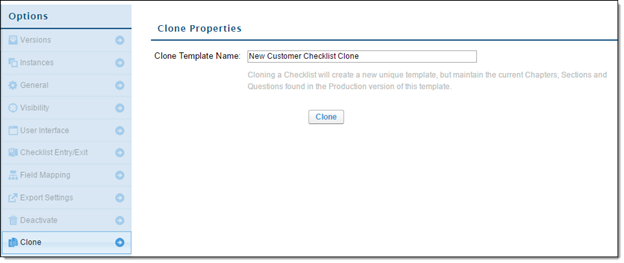
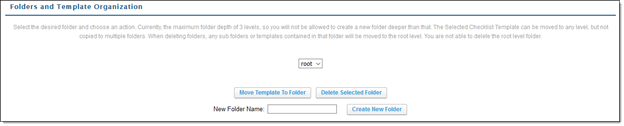
The section is designated to provide actions for folder creation, moving templates, and deleting folders