Matrices are great formats to display tabled questions and information by columns and rows.
- Begin by clicking New Matrix on the Available Questions List.

- First - populate your Title with the appropriate section title.
This will display at the top of your matrix.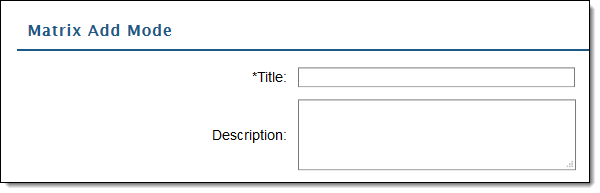
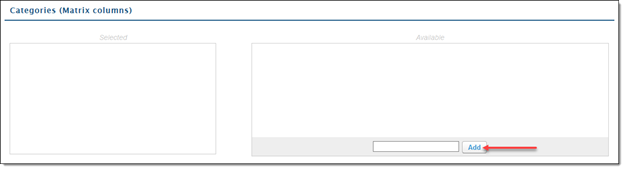
- Next - scroll down to the Categories (Matrix Columns) and begin adding available Categories. Type your categories within the pointed section and click Add.
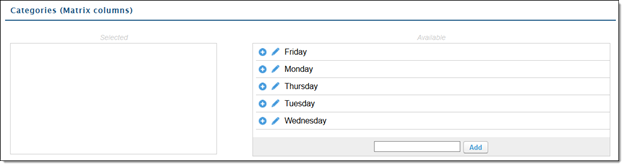
- Now that categories have been successfully added to the available section, they are available to be added to your categories.
Categories listed under Available will not display until manually added. - Click the "+" symbols to add categories.
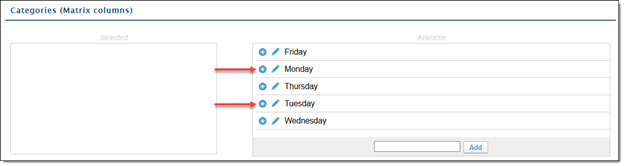
- With the categories added to the selected column, you can reorder them by dragging the arrow symbol next to each category within the list.

- Click the “-“ sign if a category should be removed from the matrix column.
- Click the “-“ sign if a category should be removed from the matrix column.
- The next section is “Questions” – meaning, all previous questions labeled “Available in Matrix” will appear here.
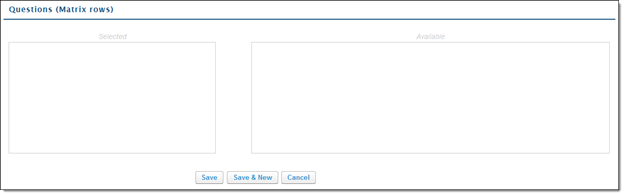
- If no questions are listed, return to the previously created questions and check the box for “Available in Matrix”. As long as the box is checked, they should show under "Available".
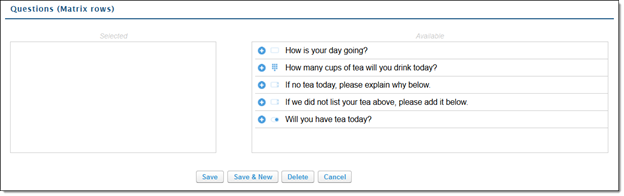
- Click the "+" sign next to the questions to be added to the rows of the matrix.
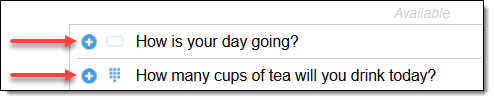
- The order can be adjusted after adding the rows, too.
- The order can be adjusted after adding the rows, too.
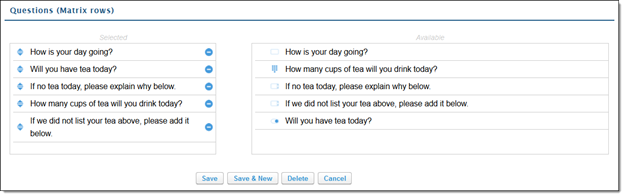
- Added questions will look like the below. Click the “-“ sign to remove questions from the rows.
- Click “Save” when you’re done with adding, removing, and adjusting rows and columns.
- The Matrix can be adjusted after saving.
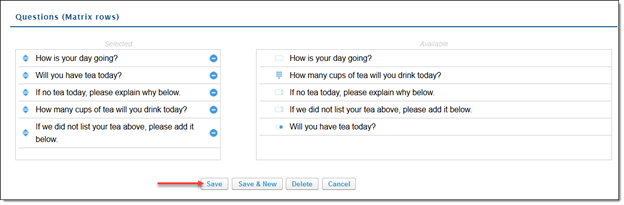
- The Matrix can be adjusted after saving.
The selected matrix is now saved and available for your Checklist.